10 Healthy Hair Tips to Try At Home

Healthy Hair Tips

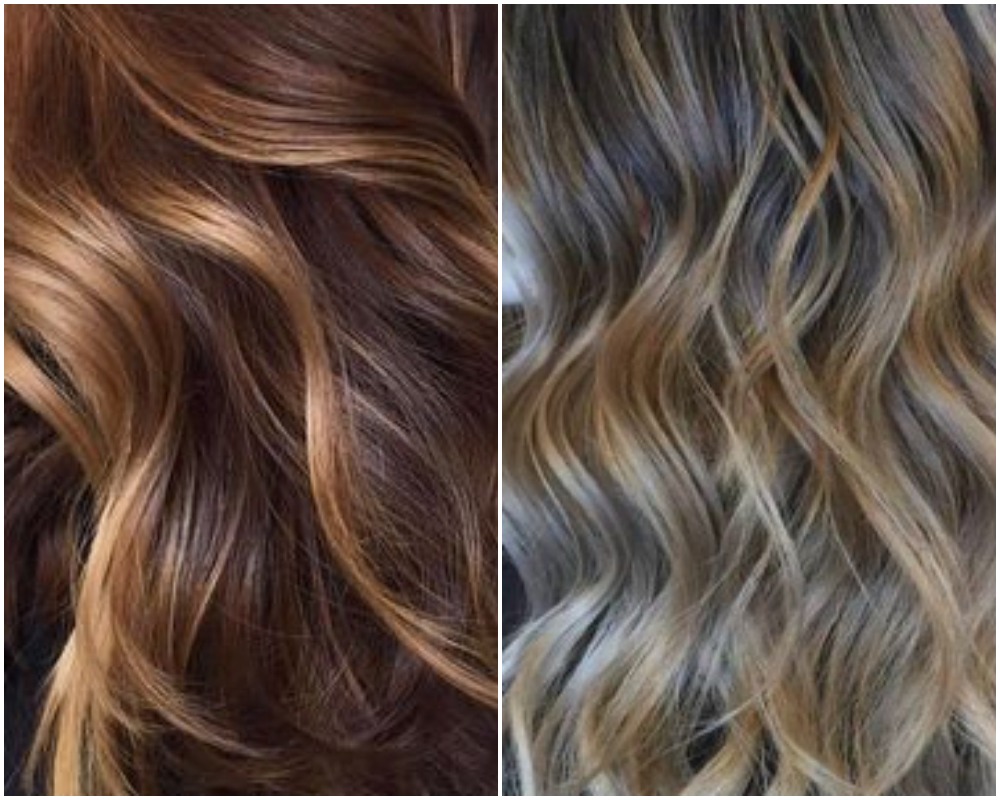
Having nice skin isn’t enough we need beautiful hair to look perfect. Beautiful hair means, not just the length but thickness and shine as well. And don’t forget hair is a reflection of scalp health. So ignoring hair will damage not only your look but also your health as well. That’s why today we are discussing healthy hair tips to try at home.

Haircare products and the services that Saloons offer are really expensive. so you shouldn’t really on those expensive products and services because there are tons of natural remedies and methods to try for glowing hair, without spending anything.

Healthy Hair Tips

We all want our hair to be the best all-time, but practically it is impossible. But somewhat you can get a dream hair you always looking for if you follow below methods I mentioned. To silky, smoothy, glowing hair here are the healthy hair tips to follow.

Tip 1: A Balanced Diet

Your diet has a lot to do with your hair. The food you are taking should be balanced with vital nutrients. Drink more water as you can. Eggs, fish, chicken, beans, vegetables, nuts are good food sources which assist hair growth.

Tip 2: Protect Hair

You will always have to protect hair from natural incidents like rain, wind and especially from the sun. Exposure to sunlight, dirt, pollution, heat will make hair worse. This dirt will dry in your scalp and hair and it leads to susceptibility to infections on your scalp. When you are traveling outside cover hair with a hat or an umbrella.

Tip 3: Conditioning is the Key

Don’t forget to condition your hair after regular washing. Use conditions right way. Too much conditioning will lead to an oily scalp. Use same shampoo and condition products.

Tip 04: Don’t overheat your hair

Too much heating will reduce natural oils and it will lead to dry and frizzy looking hair. When you are using a hair straightener, iron, curling iron be careful with them not to damage your hair.

Tip 05:  Say No to Tight Hair Ties

Tight hair ties will increase friction by pulling hair back to really tight. Avoid those and instead, you can use scrunchies that ade from cloths.

Tip 06: Massage Your Scalp

Massaging your scalp with oils is really good for hair. It helps to blood circulation, and spread oils and keep hair hydrated.

Tip 07: Use Satin Pillow Covers

Satin pillow covers help to reduce hair breaks during the sleep.

Tip 08: Don’t Wash Hair Too Often

Using too much shampoo and washing hair with too often will lead to dry scalp. It will lose moisturize.

Tip 09: Avoid brushing wet hair

Avoid brushing wet hair because it will result in hair fall.

Tip 10: Stay Away From Hot Water

Final healthy hair tips to try at home is washing hair with lukewarm water. Too cold and too hot water will damage your hair.

These healthy hair tips will change your life if you follow them regularly basis. Let us know how these hair tips work with your hair.


How To Grow Hair Faster- Natural Remedies and Hair Tips

grow hair faster
Image Courtesy: armeniagogo

I know Pixie cuts, bobs, and shoulder-length hair are the hair trends in the new year. But wouldn’t you feel like at least once you need a long hair? Then this article is for you. How to grow hair faster? Well, that is the question we all ask from ourselves and maybe from other or internet for quite a long time.

There are thousands of old and new, natural and artificial remedies for you to try grow hair faster. But the problem is how do you select the best remedy according to your hair type and the climate you are living? So here, I’ll guide you to grow your hair faster with unique remedies that work for any type of hair or not consider the climate issues.

Tips for Grow Hair Faster

  • Do not use heat under your hair. This is may be difficult for most of you but if you need a healthy, long hair avoid using hair ironing and hair dryers. If you have to use heat anyway then use a heat protector.
  • Trim your hair for every month.
  • stay away from bleaching and dying your hair.  If not you are literally damaging your hair.
  • Don’t brush your hair when it’s wet.
  • Drink more water and increase your water intake. There are like thousands of different studies and experiment with the combination of water intake and hair growing. All of those experiments suggest drinking more water for growing long hair.
  • Go on a healthy diet. Try to avoid junk foods. A mix of protein and nutrients can improve the condition of your hair.
  • Don’t think too much about everything. Stress can affect your hair.

Natural Remedies for Grow Hair Faster

01.Egg Hair Mask

grow hair faster
Image Courtesy: Google

What you will need

  • two eggs (if you have short hair use one egg)
  • one tablespoon of olive oil
  • one tablespoon of coconut oil

Mix all ingredients well. Now apply the mixture gently on your hair. Make sure to apply it on the scalp as well.  Wait about a half hour and rinse off the egg hair mask. You have many benefits of using egg hair mask: eggs will help to fight against the dry scalp, it works as a great conditioner, it repairs damaged hair, and lastly and most importantly yes, egg mask will help to grow hair faster.

02.Aloe Vera Hair Mask

grow hair faster
Image Courtesy: Google

what you will need

  • aloe vera
  • coconut oil

Take fresh aloe vera leaves and wash it well. Cut the leaves into small cubes. After that, take half of the ball of coconut oil and add aloe vera cube to it. Warm the oil by placing it in a hot water about 5-10 minutes. Remember, don’t heat the oil, just place the container in a hot water. stair the oil using a spoon. Aloe vera helps to repair dead skin of the scalps. It helps to new hair growth by increasing blood circulation. This also helps to leaves your hair smooth and shiny. Now let it cool about 10 minutes. Strain the oil well. Okay, you are done.

Now apply this oil on your scalp and gently massage it. Keep the oil in your hair about 40 minutes.  Then wash it with shampoo.  Also, you can leave this oil in the overnight and wash it in the morning.

03. Ginger Hair Mask

grow hair faster
Image: alamy.com

what you will need:

  • ginger
  • coconut oil

Take 2-3 inch long ginger, peel and cut it into small cubes. Blend or great the ginger cubes. Now add two tablespoons of coconut oil into a bowl. Now squeeze out the ginger pulps into coconut oil. Mix the two ingredients well.  Now apply this oil to hair roots.

04. Oil Massage

grow hair faster
Image: timesofindia.indiatimes.com

What you will need:

  •  castor oil
  •  coconut oil
  • olive oil

Take two tablespoons of all of these oils and mix them well.  Now apply it to your hair roots and massage it directly into the scalp. Leave your oil treatment overnight and rinse it off in the morning. Castor oil will help you to grow hair faster. It is the solution for bald spots and thinning hair.  Olive oil will help to reduce dryness and damaged hair.  Coconut oil will help to grow hair faster and thicker.


How To Acid Wash Jeans – DIY Projects

Acid wash jeans
Image: Google

There will be an ending of everything, but does this same to fashion? Fashion doesn’t have a real ending because somewhere, sometime old fashion will start as a new trend. So the Acid wash jeans.

We’ve been using disco sequins, bold shoulders and more styles from the 80s, and now popular Acid wash jeans are here. Acid wash is not limited to jeans but now we’ve been seeing this trend is using to style denim jackets, skirts and frocks as well. Just as other 80s fashion trends this acid thing will be easily incorporated with your current fashions.

Using chlorine bleach Acid washing is a process of bleaching. Since Acid wash jeans have become quite a popular fashion trend, now it has been more expensive than ever. But did you know that these acid washes can recreate in your home as a DIY project? To that, all you need is just an old pair of jeans, bleach mixture and well-ventilated area.

DIY Acid Wash Jeans

This process is super easy, all you have to do is follow my steps. Just a bit careful with bleaching and if you don’t mess up you will own an incredible pair of Acid wash denim. And you can do this same process any denim material, not for just trousers.

DIY ACID WASH JEANS

What Do You need?

  • Old pair of jeans – Remember the acid will remove a lot of colors from your jean, so don’t use your favorite pair of jeans.
  •  Bleach
  • a spray bottle
  • rubber bands

Steps

  1. Wet your denim jeans. Not soaking just wet them feel enough to notice its heavier.
  2. Using rubber bands tie each denim jean legs. There is no exact method to do that. Just think what parts you need to color and tie those parts.  Work with one leg, finish its work and then start the second one. If you are acid wash denim jacket then you can use this process to its hands.
  3. Take the spray bottle and fill it with one part bleach and two parts water. Don’t mix with half and half, because bleaching can damage your jeans.
  4. Spray the bleach. I sprayed all the parts I bustled and top of the jean waist as well. But here is the process you can be really creative. You can do whatever you like.
  5. Set alarm. I let mine sit for about an hour but this also your choice. The more time you wait the more light color you get.
  6. Turn over your jean and do the same process to their part as well. And if you like you can stop from the front side and leave backside just the way it is. These all your choices.
  7. After finishing all these steps you can wash your jeans just the normal way.
  8. Don’t forget to wash your hands after the bleaching process. Use soap and warm water and bleach shouldn’t stay your hands for too long.
The process of DIY Acid wash jeans is pretty enjoyable, right? It also a creative process because there is no exact method you can do it any way you want. But follow the above steps and create a wonderful Acid wash jeans for your wardrobe. Happy DIYing ladies.


Tips For Get Hair Highlights at Home – DIY Highlights


hair highlights at home

You may have personal experience of getting hair highlights at home and ending up with look like a zebra? Well, that can happens if you are not using correct instructions. The easiest solution for this matter is getting hair highlights by professionals, but isn’t that too expensive and time-consuming?

Get hair highlights at home can save you both money and time, but this DIY highlight project is a bit tricky. With little practice with my tips, you are able to get the highlights of your dreams in a comfortable way.

Why Would You Need Hair Highlights ?

If you are not into highlights but thinking why would anyone need hair highlights well don’t you think just a single-process color is boring, sometimes. And not only that highlights can prominent your eye color, visualize the slim face and bring out cheekbones. Also, highlights are really good for women who have little hair, because it makes the illusion of fullness. It also works with all hair colors.

There are two common techniques to hair highlights, foil and freehand painting (balayage).
Tips to Hair Highlights at Home
Here you will learn the most important factors like lightning level, amount, sizes, placement when you get hair highlights at home

Choosing the correct color is key

Hair highlights require bleach or dye, lighter than your natural hair color. The best way to choose hair color is by keeping two or three shades lighter than your base color. But you should be careful not to choose a too-light color, if not it will create a stripy, unnatural look.

If you already have dyed hair you will have to use bleach. Remember if you have used henna or vegetable dyes, it won’t support for new lightning.

Also, if you have dark hair color like black hair you will definitely need bleach because normal dye won’t have the power to highlight dark hair, but if you have natural blonde or light color, you are able to use bleach-free highlight kit.

You should remember that highlight color will depend on the color of your natural hair. For example, if you choose caramel highlights but you have brown base it will totally different with red color hair. So always choose highlights kit that specially offers your natural base (for brown hair).

 Don’t Avoid the strand test.

If you are getting hair highlights at home then it is important to start with the standard test. So after the test, you can get highlight without any fear and also you have a practice, to keep time.

Usually, the lightness of highlighter depends on the strength and how long it’s left on your hair. For a more natural look use fewer highlighter levels.

Protect your skin and clothes

You must wear gloves to protect your hands. Usually, these gloves come with highlighter kit. You can use a towel or plastic bag to wrap around your shoulders.

You don’t need the plastic cap

You know that highlighter set usually comes with a plastic cap kit. But you don’t need this tool unless you need to end up your DIY highlights with an uneven look.

Foils

Foil is a heat conductor, which means foils helps to lighten hair faster. So make sure o keep an eye on the time when you get hair highlights at home. Using foil can help to keep the hair straighter way and also it helps to get a perfectly symmetrical pattern you need.

If you don’t have fancy saloon brush when they highlighting, it’s perfectly no harm to use a paintbrush or toothbrush.

Moisture Your Hair 

Stay tuned about the time and remember the first piece you started first will be finished first. After rinsing each section using lukewarm water, give a good shampoo and conditioner.

After all,  use toner to look counteract the hair color. Toner will add a super shine and smoothy look on your hair. After hair highlighter protecting your hair is important.

​Do you like this post? Then you will like other posts as well. Get tons of DIY projects, beauty tips and fashion tips on https://scissortwists.com .